Approve tokens to an account
Outcome
We will learn how to delegate tokens to another token account. By the end of this chapter you will understand on how to delegate tokens to another account.
In the previous chapter, we transferred few tokens(10 tokens) to payer_mint_ata at the end of the chapter.
Now, in this chapter we will delegate around 5 tokens to another_mint_ata token account.
another_mint_ata is an associated token account created from another_authority
The final outcome of this project is found here
Prerequisites
We won't require authority related instructions from previous chapter, so we use Chapter - 5 repo for the demonstration purpose.
TODO: Link to chapter 5 repo
How to Approve tokens to another account ?
We will follow the 2-step process to delegate tokens to another token account.
- Create a
ApproveTokenscontext. - Create an instruction
approve_tokens
Step-1 : Create a ApproveTokens context.
Let us create an approve tokens context as below in lib.rs file.
// Approve token to another account
#[derive(Accounts)]
pub struct ApptoveTokens<'info> {
    #[account(
         seeds = [
            b"spl-token-mint".as_ref(),
         ],
        bump = vault.spl_token_mint_bump,
    )]
    pub spl_token_mint: Account<'info, Mint>, // ---> 1

    #[account(
        seeds = [
            b"vault"
        ],
        bump = vault.bump, // --> 2
    )]
    pub vault: Account<'info, Vault>,

    #[account(
        mut,
        associated_token::mint = spl_token_mint,
        associated_token::authority = payer
    )]
    pub payer_mint_ata: Box<Account<'info, TokenAccount>>, // --> 3

    #[account(mut)]
    pub payer: Signer<'info>, // ---> 4

    pub system_program: Program<'info, System>, // ---> 5
    pub token_program: Program<'info, Token>,   // ---> 6

    pub another_authority: Signer<'info>, // ---> 7
}
Step-2 : Create an instruction approve_tokens
First, add the following imports into lib.rs file
use anchor_lang::prelude::*;
use anchor_spl::{
    associated_token::AssociatedToken,
    token::{self, Mint, Token, TokenAccount},
};
Add the approve_tokens instruction
    pub fn approve_tokens(ctx: Context<ApptoveTokens>) -> Result<()> {
        let cpi_context = CpiContext::new(
            ctx.accounts.token_program.to_account_info(),
            token::Approve {
                to: ctx.accounts.payer_mint_ata.to_account_info(),
                authority: ctx.accounts.payer.to_account_info(),
                delegate: ctx.accounts.another_authority.to_account_info(),
            },
        );
        token::approve(cpi_context, 5)?;
        Ok(())
    }
In the approve_tokens instruction, we are approving 5 tokens from payer_mint_ata to another_authority. Remember that payer is the original authority to payer_mint_ata. Hence we pass payer as value to authority parameter.
Now let us test the above instruction by writing a test in spl-token.ts file.
Before proceeding to write test cases, do make sure that you have added anotherWallet as another wallet in the describe block.
const anotherWallet = anchor.web3.Keypair.generate(); // newly created another wallet
And add some sols to it in the before block of the test file
await addSols(provider, anotherWallet.publicKey); // add sols to another wallet
Let's add the following test case in the describe block.
it("should delegate 5 tokens from payer_mint_ata to another_authority", async () => {
    try {
      const [splTokenMint, _1] = await findSplTokenMintAddress();

      const [vaultMint, _2] = await findVaultAddress();

      const [payerMintAta, _3] = await findAssociatedTokenAccount(
        payer.publicKey,
        splTokenMint
      );

      const tx = await program.methods
        .approveTokens()
        .accounts({
          splTokenMint: splTokenMint,
          vault: vaultMint,
          tokenProgram: TOKEN_PROGRAM_ID,
          systemProgram: SystemProgram.programId,
          payerMintAta: payerMintAta,
          payer: payer.publicKey,
          anotherAuthority: anotherWallet.publicKey,
        })
        .signers([payer, anotherWallet])
        .rpc();

      console.log("Your transaction signature", tx);
    } catch (err) {
      console.log(err);
    }
  });
Please do note that we are passing anotherWallet public key as the anotherAuthority to the approveTokens() method.
Run the following command to test
anchor test
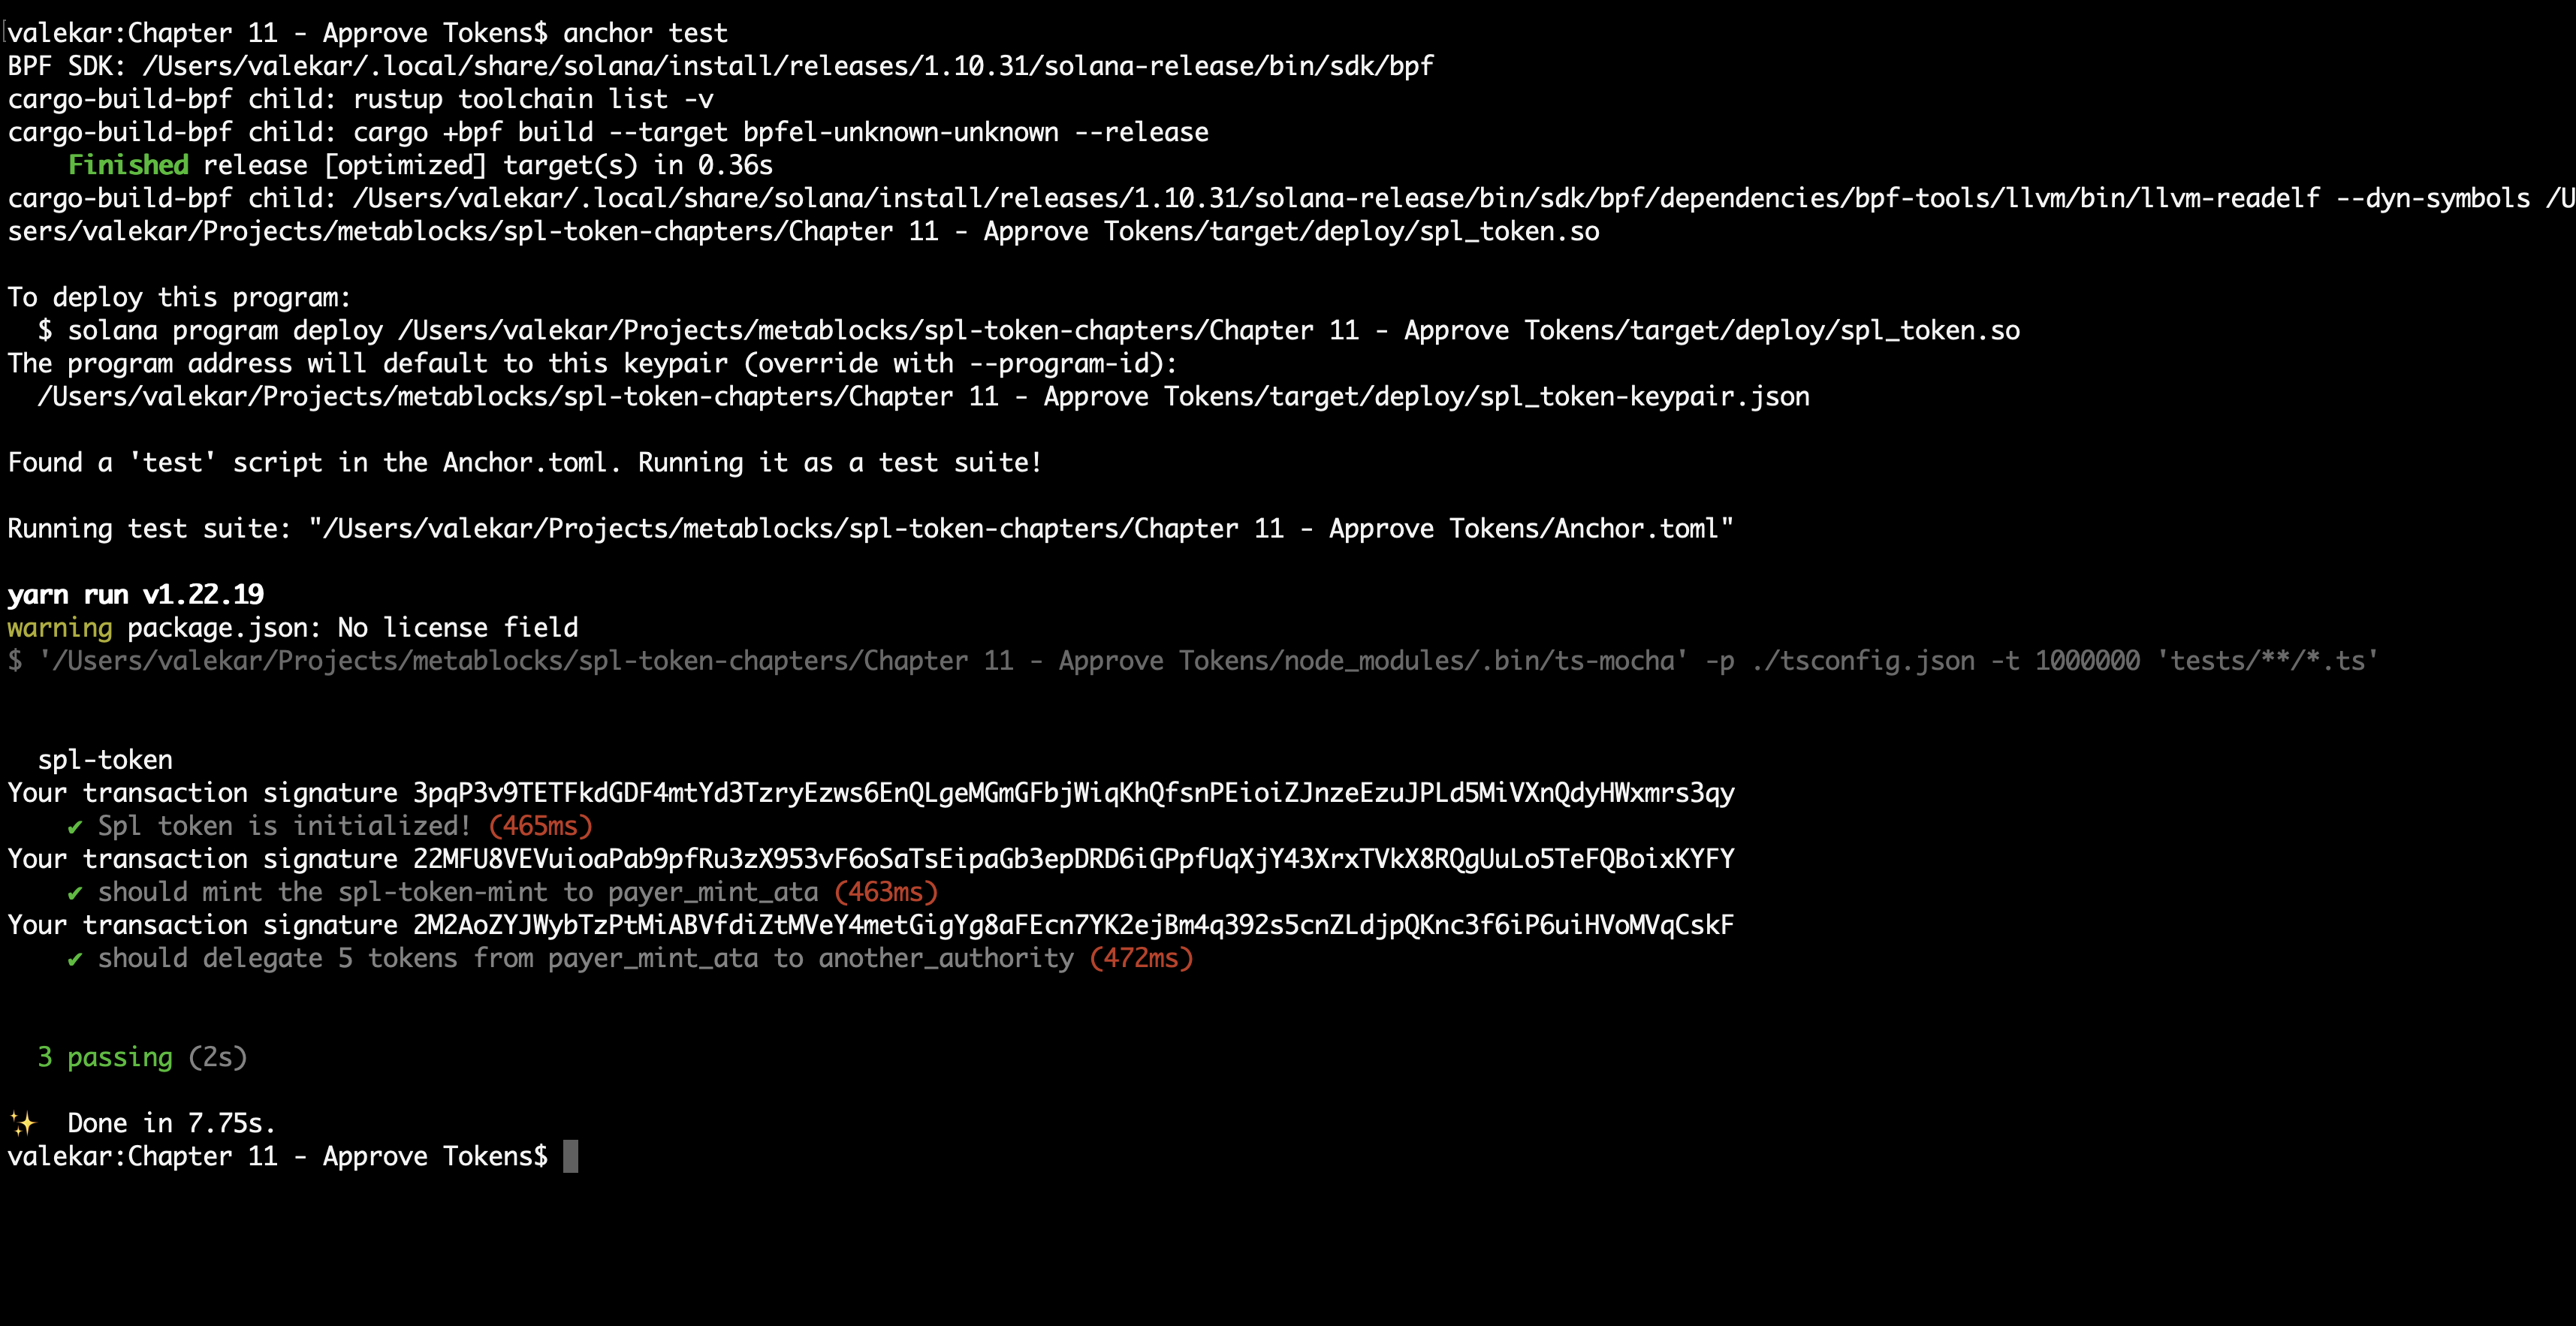
The test should pass and you should see something like this-

Next we will look at how to revoke the approved tokens.